Creating Images Using Open Source Repositories and PowerPoint/Paint
Images are an excellent addition to any CommCare app. They keep users more engaged, and can aid in comprehension, particularly for low-literate users or children. If your project doesn't have an in-house graphics department or images already created for your app, there are many online resources you can use to help create images for your app. One very important thing to keep in mind is that if you are using images from the internet they MUST be open sources, and labelled for commercial re-use! Instructions below include ways to search for images, and ways to modify/ create your own images using PowerPoint or Paint.
In order to edit/modify images you'll need the following:
- Web browser with an internet connection
- Either Microsoft PowerPoint or Paint (depending on what sort of modifications you'd like to use)
- Snipping Tool (or another image capture tool)
Repositories of Open Source Images
There are many collections of Open Source Images on the internet. Dimagi has a set of open source images available for re-use, in this gallery on Flickr https://www.flickr.com/photos/dimagi/sets/ You can search these sites for images that you can use as-is, or for images you can edit to modify in order to fit your needs.
Alternatively, you can search the Creative Commons for open source images at this link: http://search.creativecommons.org/ To use this portal, click on the link. In the search bar, type the image you are looking for (e.g. wheat, student, girl), and then click on the searching tool you'd like to use (e.g. Google Images, Flickr, etc). See the example below, for searching for a picture of a girl, using Google Images:
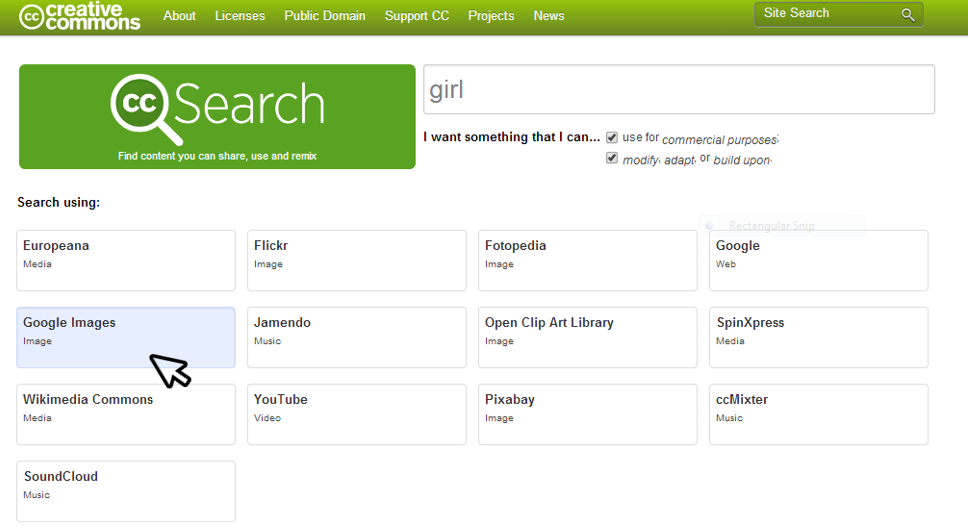
From here you will be taken to Google Images (or whichever search tool you have selected), but it will only return results which are labelled for commercial purposes, and can be modified, adapted, or built upon. Once you find an image you'd like, you have two options: 1) you can use this image in the exact form it appears in Google (e.g. save it to your computer, then upload it into CommCare) OR 2) copy and paste it into PowerPoint or Paint to edit/ modify it.
Editing/Modifying Images to Create Your Own
Oftentimes there is something very specific you are looking to convey in an image, and it may not be available online (of all the images on the internet, a very small proportion are labeled as open source, available for commercial reuse, and modifications). Luckily, you can take images you find through open source channels (as outlined above), and modify them using Paint or Microsoft PowerPoint. Using the editing tools available in these programs, you can change the color, shape, size, and rotation of images. You can combine multiple images and place them into one finished product. You can also add shapes or text to a particular images. The options are nearly endless, and by using these editing tools, you an create an image that is exactly right for your question.
Example Using Microsoft PowerPoint
In an app meant to teach children the importance of hand washing, you have a question about hand-to-hand transmission of germs. You want to demonstrate that a germ is passing between two different people. How can we create an image like this?
Step 1: Search for image of Hands
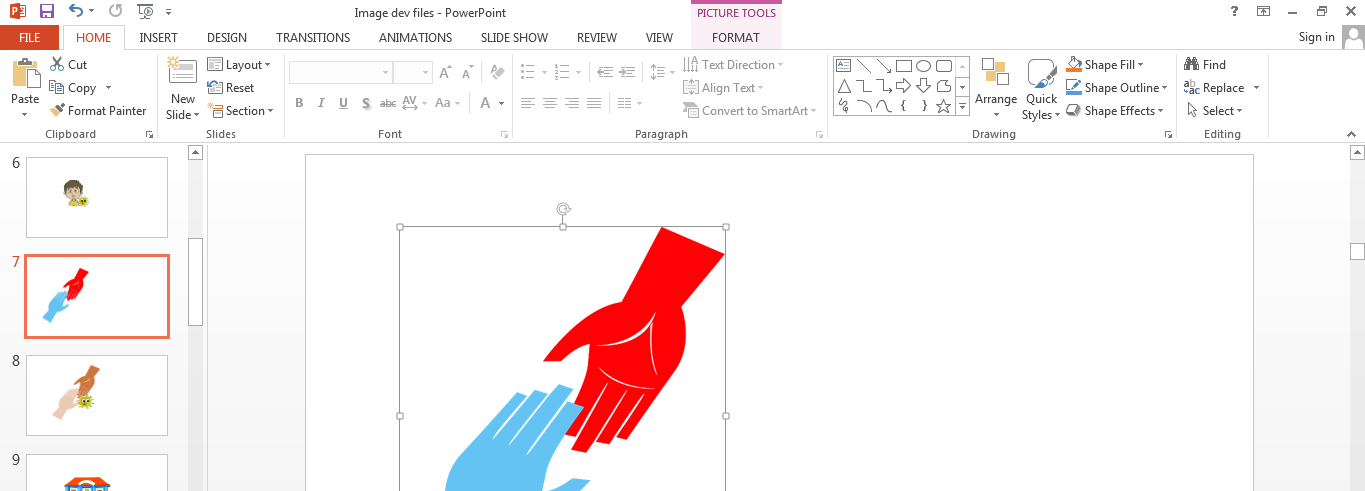
Using the process outlined above, we search "hands" using the Creative Commons search engine, and Google Images. The best image available is one of a red and blue hand (shown below). I copy and paste this into Microsoft PowerPoint.

Step 2: Re-color to be human skin colors
The picture of hands is good, but doesn't convey that these are real humans. In order to make the hands look like normal skin colors, I edit the image in PowerPoint. If I click on the picture in PowerPoint, an option comes up that says "Picture Tools-- Format" (see below).
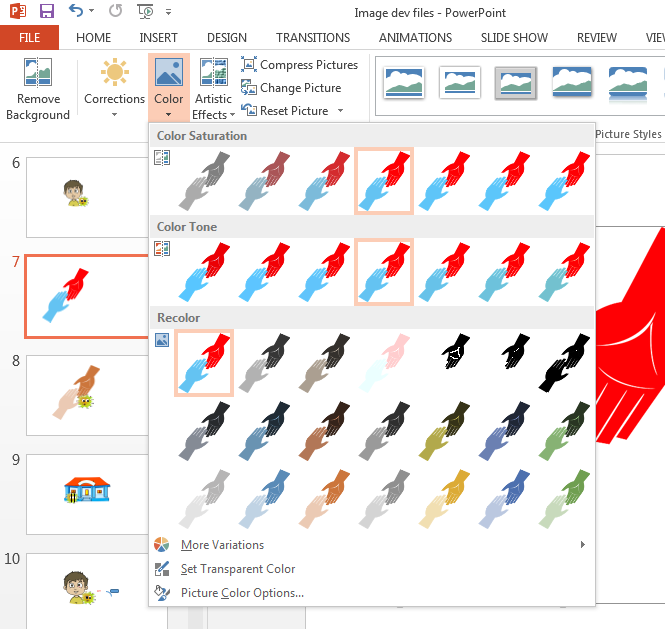
By click on the "Format" button, a new set of picture editing and formatting tools will show (as shown below)

To recolor a picture, click on the "Color" option of the toolbar, and view all of the available options. Since I want my image to appear as human skin colors, I choose an option that recolors the red and blue to be more of a brown and beige combination.
After recoloring, my new image looks like this:

Step 3: Add a Germ Graphic
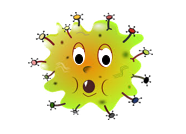
Now I want to add a graphic that looks like a germ. Using the Creative Commons search tool and Google Images, I find this graphic of a cartoon germ:
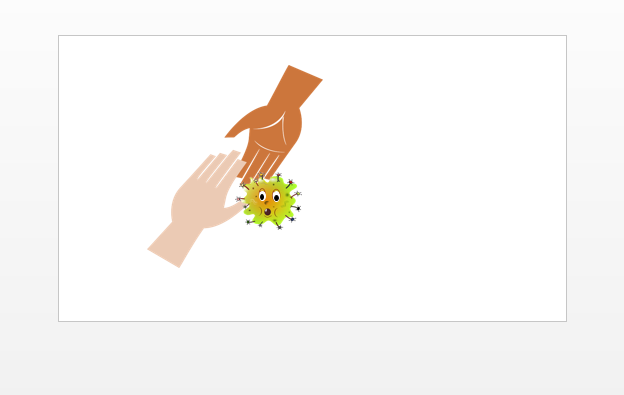
Step 4: Combine Germ and Hands
I simply copy and paste the new germ graphic into the PowerPoint slide where the hands image is. I can rearrange the location and rotation of the images, as well as resize them so that germ is smaller than the hands, but still visible. (Hint: if one of your images has a white background that is showing, you can click on the color option "choose transparent color." This will make any background colors go away, and allow you to stack images on top of each other). Since my germ image had a white background, I set the white background as a transparent color, pull the germ onto the hands image, and send it to the front (right click on the image and select either "bring to front" or "send to back" to stack images on top of each other). My slide now looks like this:
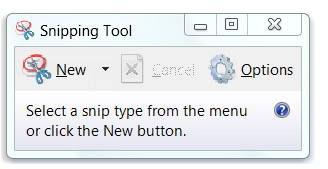
Step 5: Use the Snipping Tool to snip and save your image as a PNG
The last step is to use the Snipping Tool (this software comes free on most Microsoft-run PCs these days) to create your final image. Open up the Snipping Tool, and select "Rectangular Snip." This will allow you to drag your cursor around a rectangular area. Select a tight portion around your image: do not include unnecessary white background or any of the PowerPoint buttons. Once you have snipped the image, you can save it to your computer. Images in the Snipping Tool automatically default to saving as PNGs, which is the file format that CommCare uses.
Step 6: Proceed as normal for uploading to CommCare HQ
Congratulations-- you've created an image! Proceed as normal to upload your image (either individually, or in bulk) in CommCare HQ.
Example Using Paint
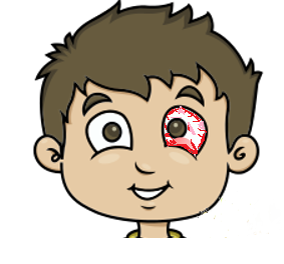
For the same hand washing app, we'd like to create an image of a cartoon small child with pink eye. After doing a search using Creative Commons, there aren't any pictures of children with visible pink eye, so we decide to create one on our own own.
Step 1: Find an image of a boy
Using the Creative Commons search I find this picture of a boy that I can take and edit it Paint:

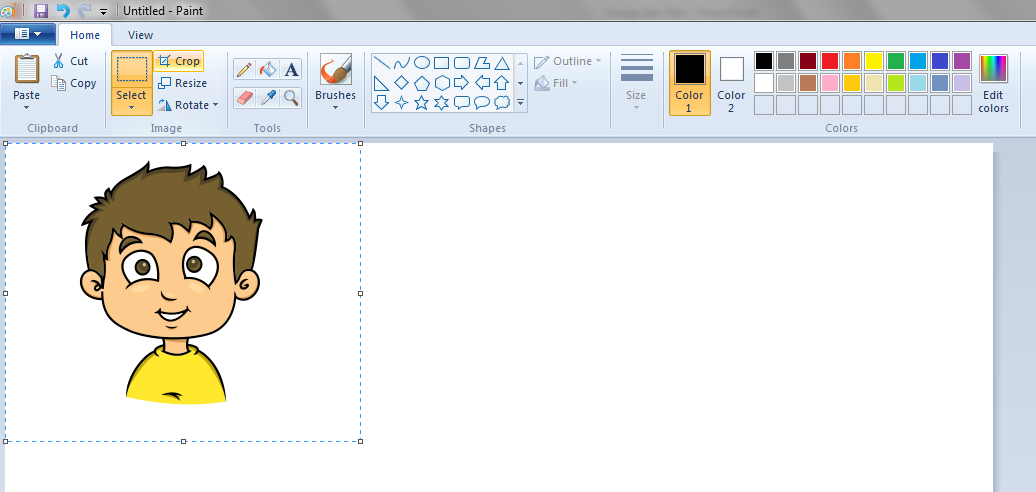
Step 2: Copy and paste the Image into Paint
Copy the image from Google Images, and paste it into Paint. After copy and pasting into Paint, you can use all of the drawing and editing tools to modify the image however you'd like:
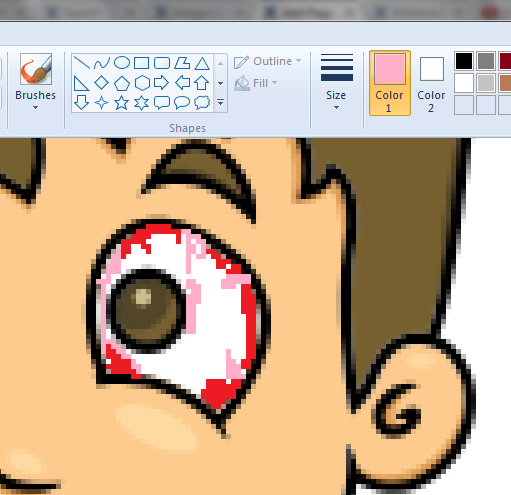
Step 3: Modify image by adding pink and red lines and blotches
Since the images is supposed to depict a child with pink eye, I use several drawing and airbrush tools in both pink and red to add in lines and circles to the child's eye. In order to be extremely precise, zoom in very far to make sure all modifications are being done within the confines of the eye itself (see below, an excerpt of the eye which has been zoomed by 500%).
Step 4: Use snipping tool to either save or copy and paste the image
Your image is now modified! Zoom back out to 100%, and then use the Snipping Tool to capture your image. If you are finished with the image, you can save it and upload to CommCare like normal. See below:
If you would like to continue editing in PowerPoint, you can use the Snipping Tool to capture the image, and then copy and paste back into PowerPoint. The example below shows the image with a text box below that reads "bimar" (Hindi for "sick"). The Paint image was copy and pasted back into PowerPoint, and the text box was added, after which the image was saved using the Snipping Tool for uploading.

Step 5: Proceed as normal for uploading to CommCare HQ
Congratulations-- you've created an image! Proceed as normal to upload your image (either individually, or in bulk) in CommCare HQ.